.svg)
Version 1.5: Hub Feature, Buttons & Image Gallery
This is the biggest update we have made since the official release of LearningSuite. We have not only added an absolutely groundbreaking new feature to LearningSuite, one that has never existed in this form in the e-learning market before, but have also worked on numerous additional features, improvements and optimizations.
All changes at a glance:
Official release of Hubs:
- Create your own templates
- Hub status display
- Define sort order
- Widgets & Pop-up refined
Editor improvements:
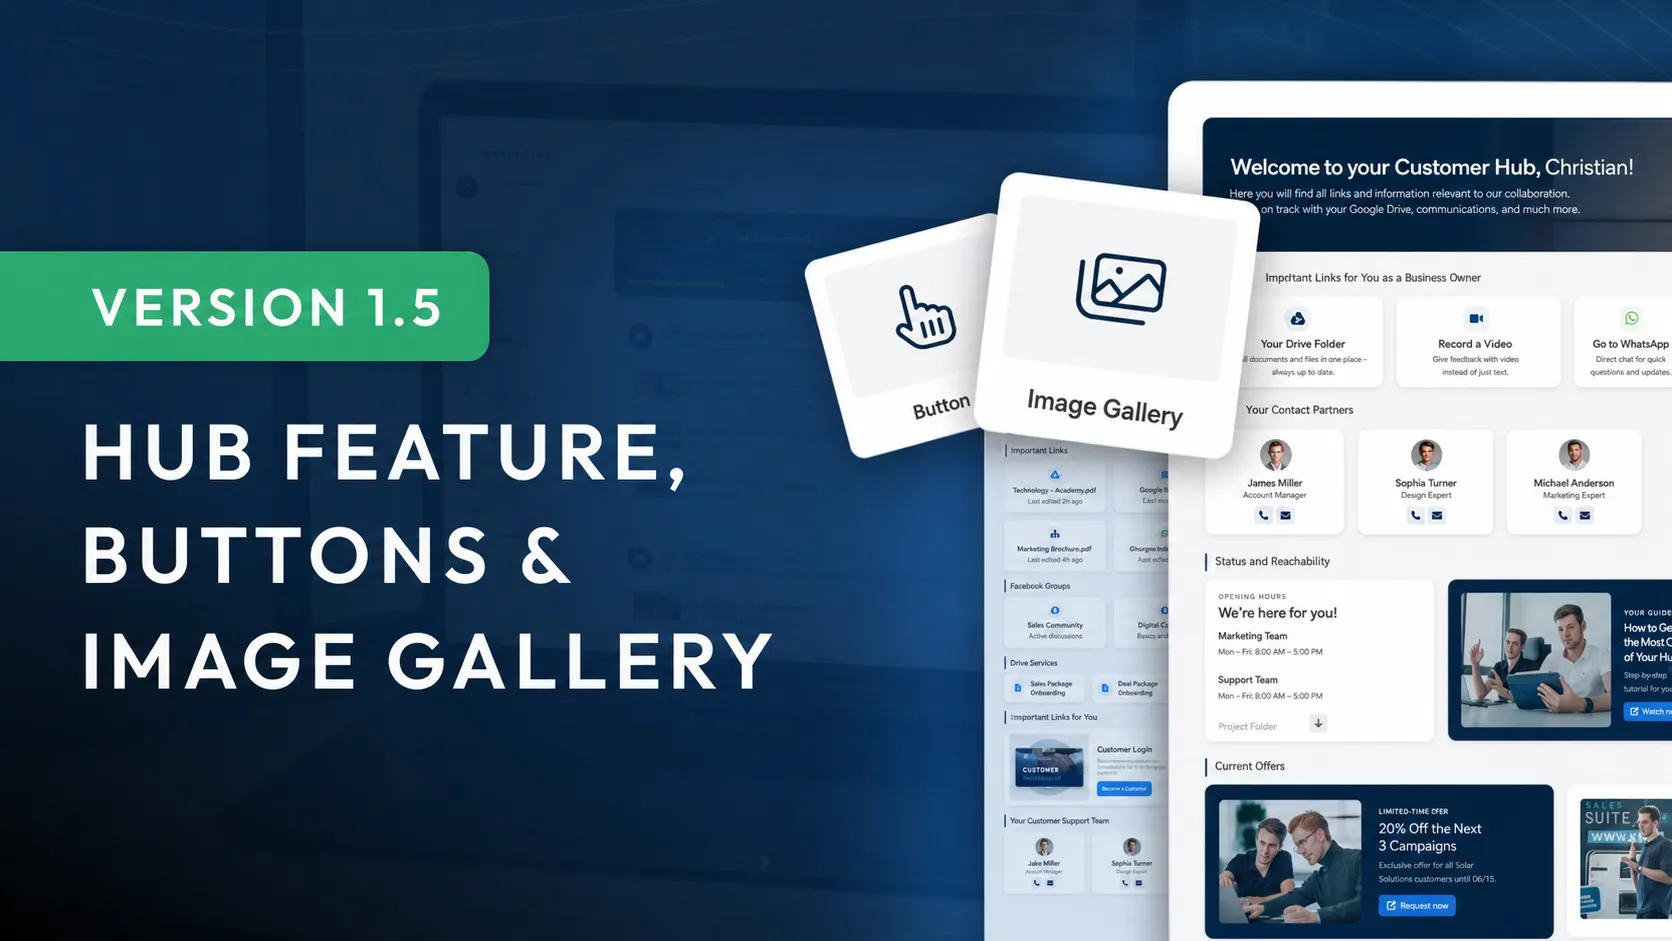
- New element: Button
- Image gallery now has a slider
- Audio element has a new design
- Video recorder design improved
Settings:
- Default language can now be configured (if not German)
- Platform color display can now be configured (Dark Mode can be enforced)
User management in Courses:
- Individual content activation for users
- Add bundles and groups directly in the Course
Minor changes:
- Design improvements in the video recorder
- Sorting of submissions has been improved
- The author design below the Course information has been refreshed
- Images now load significantly faster, even with slow internet connections
- Some display improvements and optimizations in the learner view
Official release of Hubs
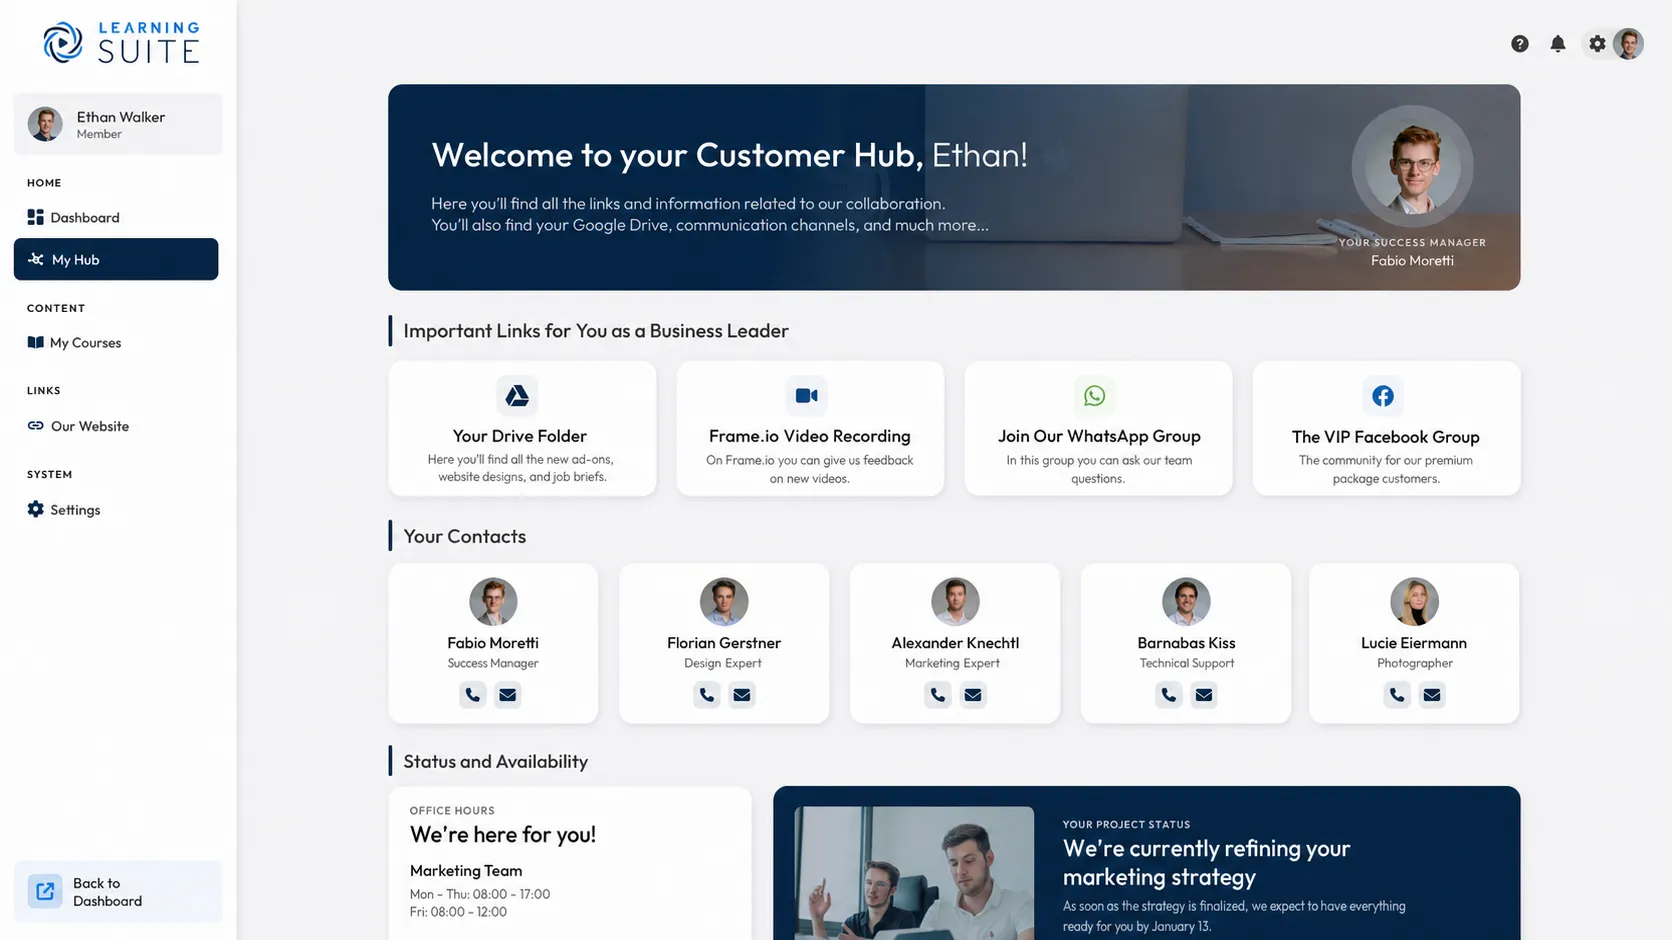
What exactly are Hubs?
With our Hubs, you can create dashboards with various elements such as links, images, text & much more. This allows you to build an intranet for your employees or share important links & information with your customers.
How do I create a Hub?
As is typical of LearningSuite, creating Hubs is incredibly easy. Simply go to the "Hubs" tab in the left sidebar and create your first Hub there by adding a name and a description. In the second step, you then have the option to use a template.
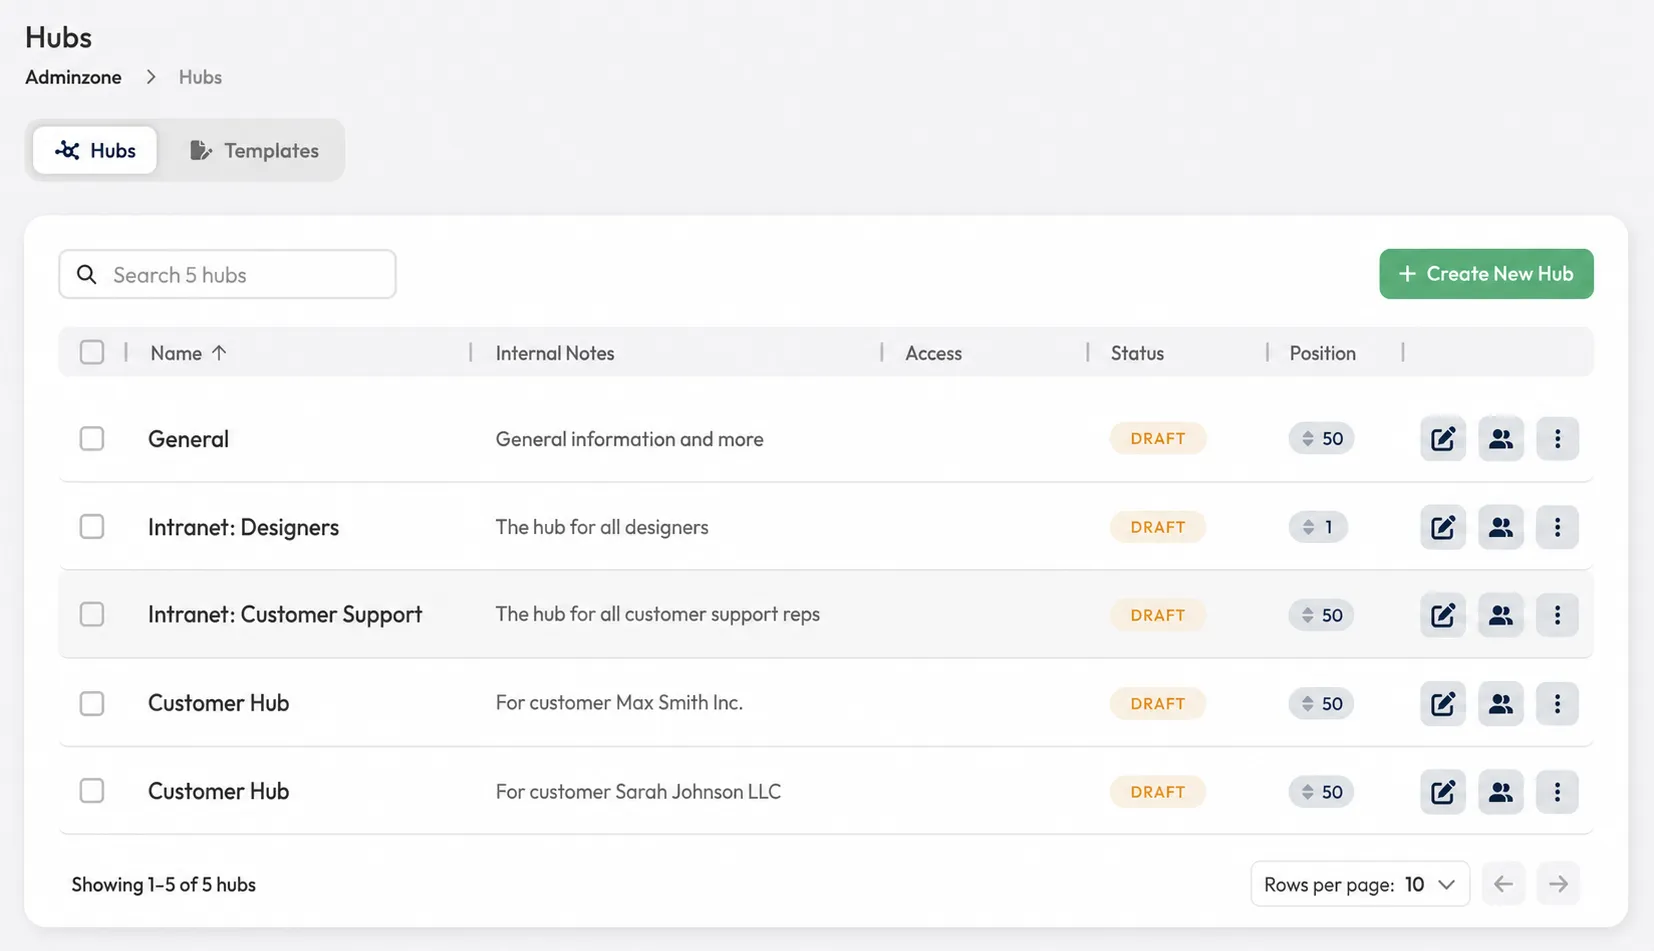
Create your own templates:
Under the new "Templates" tab, you now have the option to create your own templates. This allows you, for example, to create a customer Hub template for one of your customers and reuse it for additional customers.
Define sort order for Hubs:
To give you an even better overview of your Hubs, we have added a sort order. There, you can enter the priority of your Hub as a number between -999 and +999. The Hub with the lowest number is always displayed first.
Status display in the Hub list:
We have now also added status information to the Hub list. You will see 3 statuses there:
- Draft: Displayed when the Hub has not yet been published and Members cannot see the Hub.
- Live: Displayed when the latest version of the Hub has been published.
- Changes: Displayed when there are unpublished changes in the Hub that users cannot yet see.
New widget: Spotify integration
With the Spotify widget, you can easily share your podcast or a playlist with your Members.
Hubs are no longer in beta:
We have optimized all widgets. They are now displayed perfectly on all device types. Creating and editing widgets in Hubs has also been optimized.
Improvements in the editor
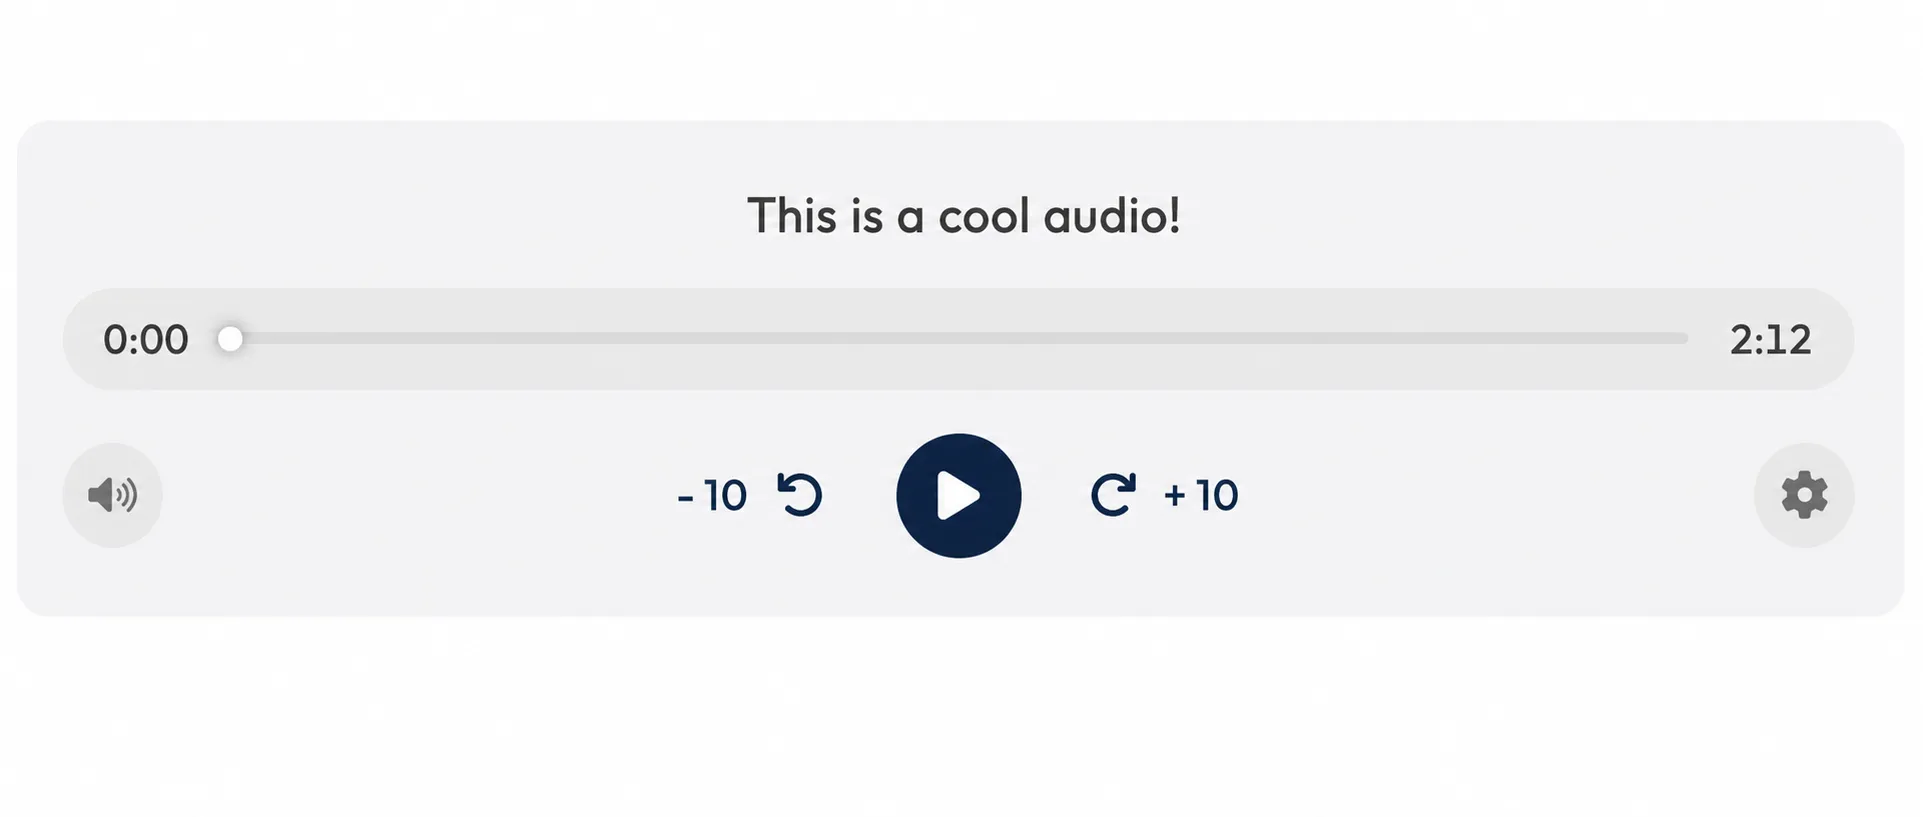
Audio player has a new design:
The audio player in the editor has received a new design. It offers significantly more space for the title than before and also always looks perfect on mobile devices.
Improvements to the image gallery:
The image gallery now offers the option to click on a photo to open a slider where you can view the images in more detail. From there, you can switch back and forth between the photos and zoom in and out to better identify relevant details in the image.
New user management in the Course
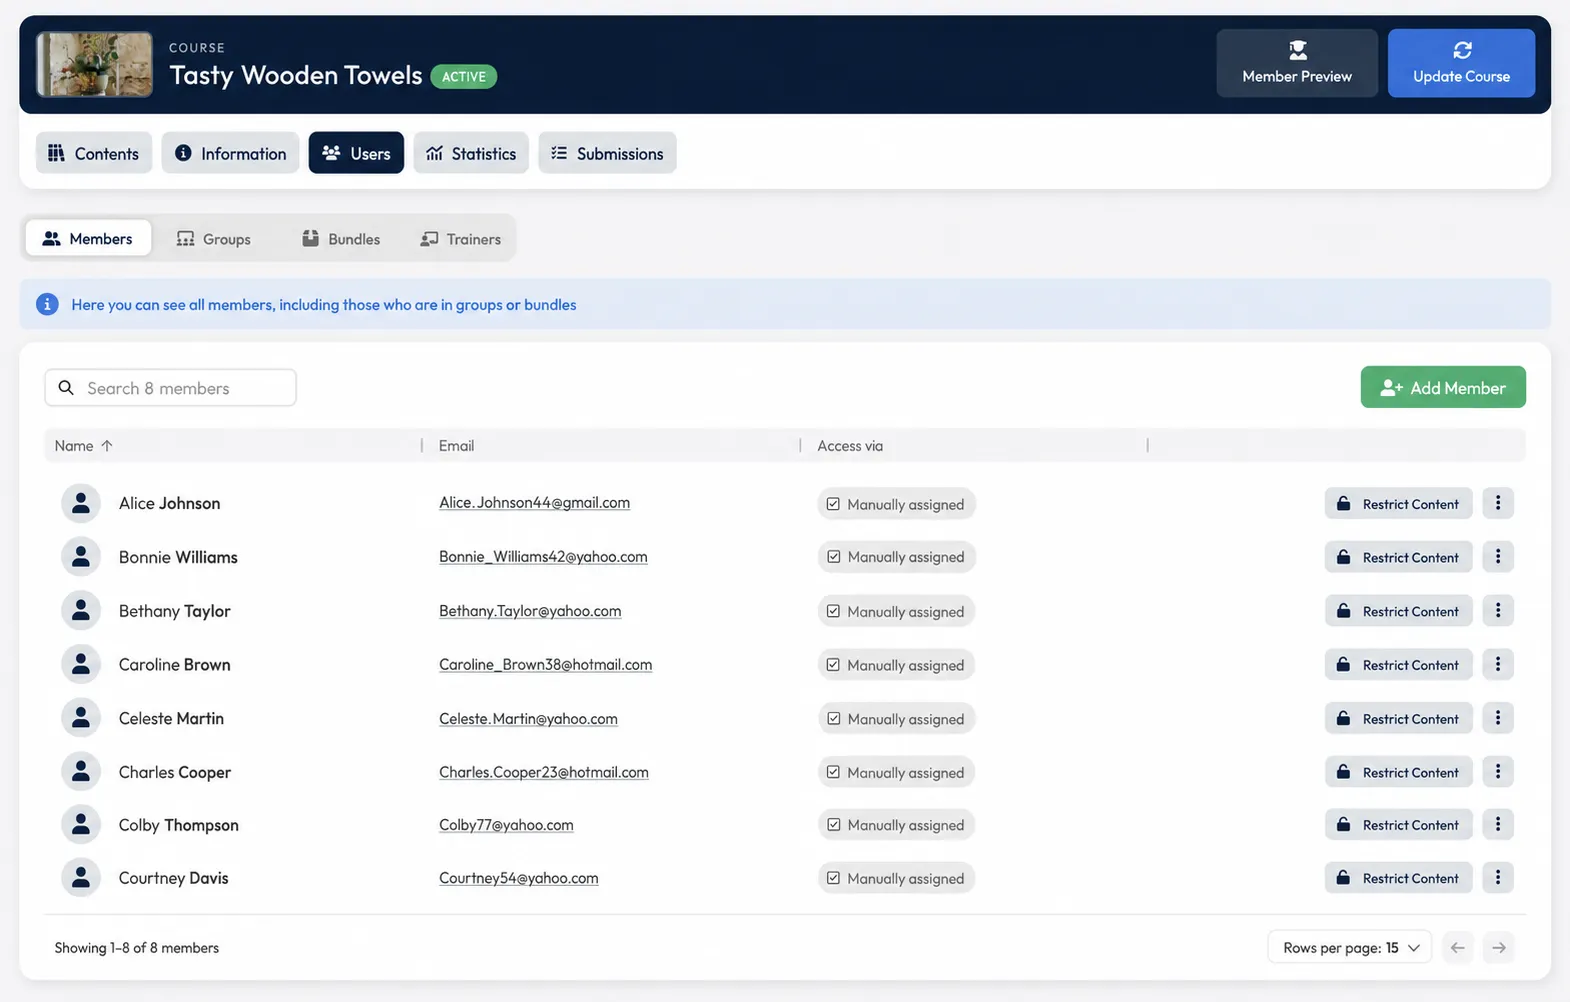
Individual content activation for users:
You now have the option to activate specific modules for individual users. This allows you to give customers who have been transferred from another platform direct access to modules that have already been activated or respond individually to specific customer requests.
Add bundles and groups directly in the Course:
You can now add groups and bundles directly in the Course. Simply click on the relevant tab.
Settings
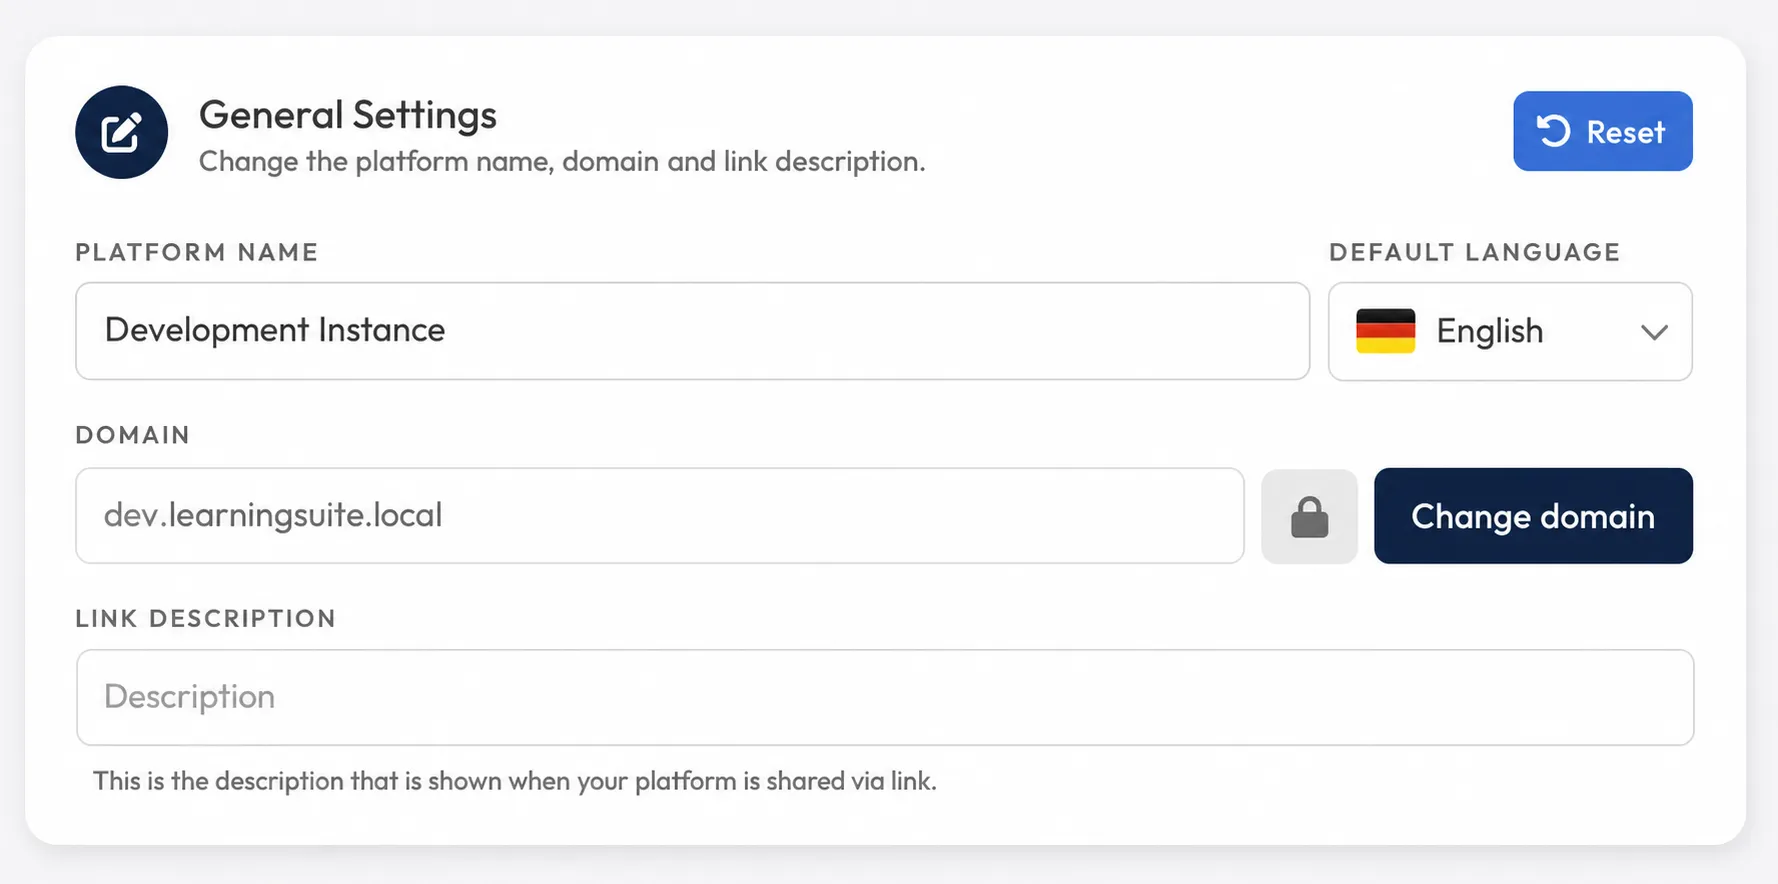
Default language can now be configured:
If your default customer language is not German but English, you can now change the language under Settings --> MyLearningSuite. As a result of this change, the initial login details are automatically sent in the selected language, and this language is selected by default for every user.
Platform color display
You can now configure whether your instance should be displayed in Dark Mode or Light Mode by default. You can also specify that your customers may use your instance exclusively in Dark Mode or Light Mode.